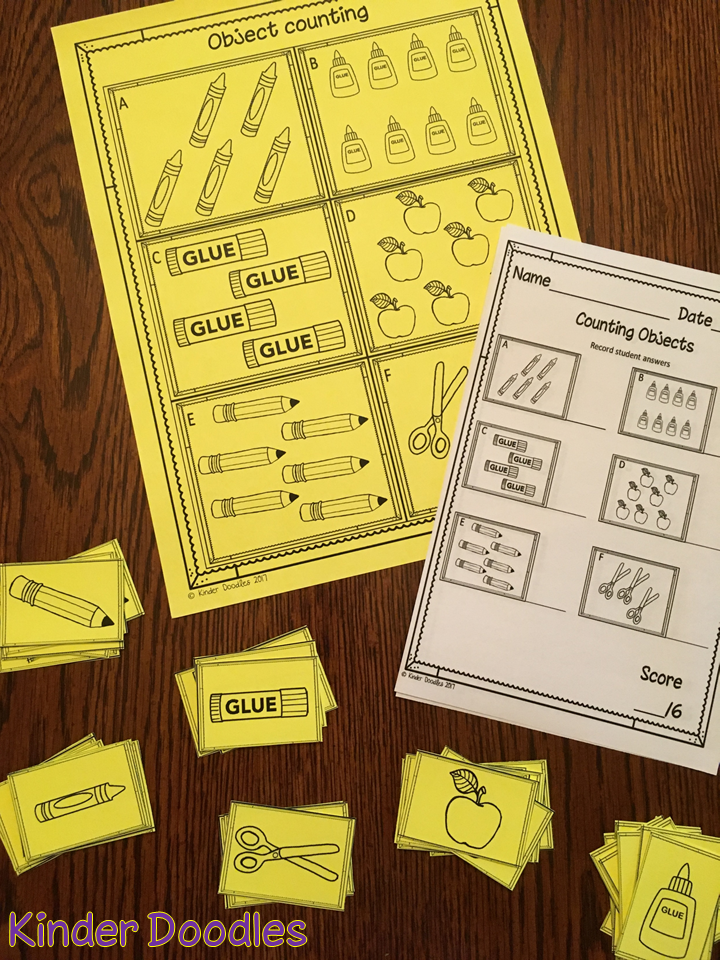
Tuesday, February 6, 2018

What Do You Know? Progress Monitoring


The need for data on your students never ends ~ whether you need to provide scores to your admin, you are planning differentiated instruction, or are forming small groups. But, gathering all that data can be a time consuming task!

I wanted a way to get the info I needed without having to block out large amounts of time, so I created my Quick Checks & Progress Monitoring set. None of the assessments take more than 10 minutes, and some of them really only take about a minute or two. Many assessments can be done whole group to get a quick benchmark on everyone. Progress monitoring can then be done to keep tabs on your kiddos' growth.


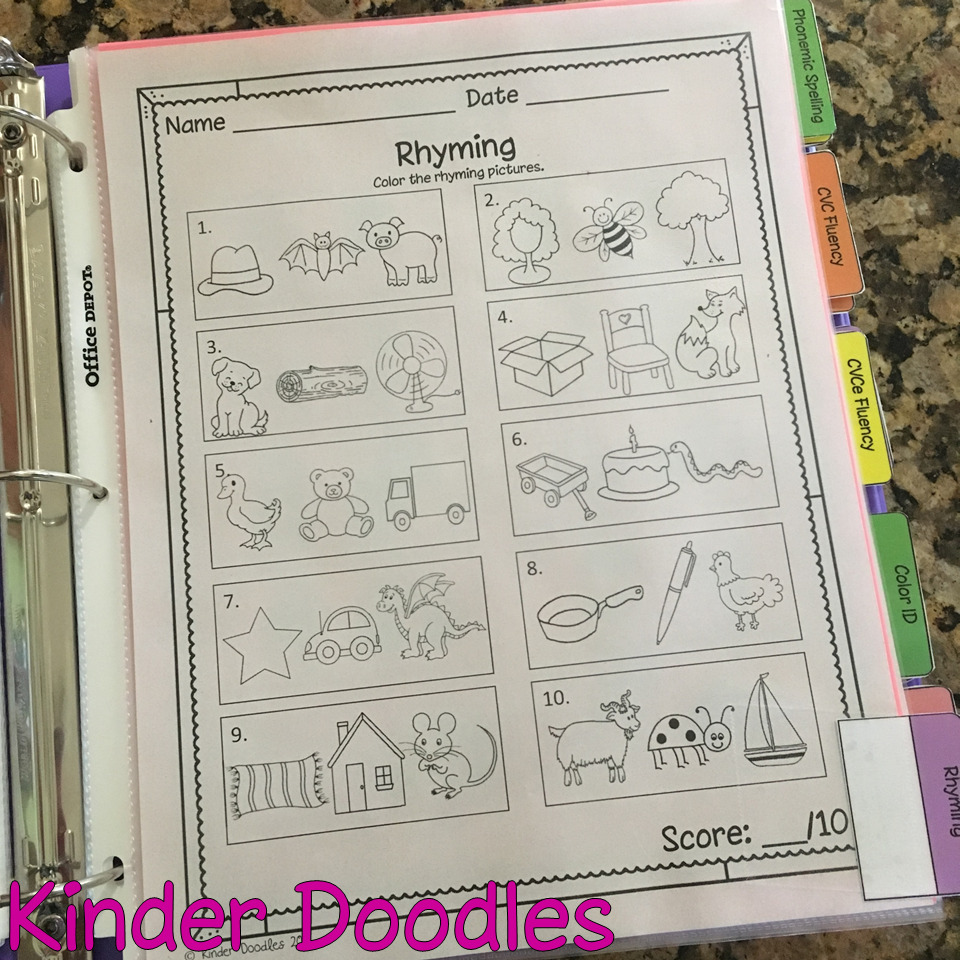
I have found that a binder is the best way for me to keep all my testing materials organized. Use page protectors to hold the masters of each assessment. I like to tape the tabs directly onto the page protectors with a little clear packaging tape. (I also put some on the back side of each tab to keep the them securely in place.) For assessments that have half sheet record pages, I like to keep a dozen or so copies in the binder so they are ready to go whenever I need to do a quick check. Because the pages are in clear pockets you don't have to take them out of the binder! (I like this ~ I'm less likely to lose the pages if they stay IN the binder!)


Some assessments have more than one version ~ like the letter naming assessment. For those, you can save paper by printing on both sides. Keep the record sheets in the next pocket.


You can easily get benchmark scores on your whole class with many of the assessments. Have everyone do the quick check at once & progress monitor those kiddos who need extra practice. My team uses these forms to help us to gather information for our quarterly report cards. It's a real time saver to be able to assess everyone at the same time!


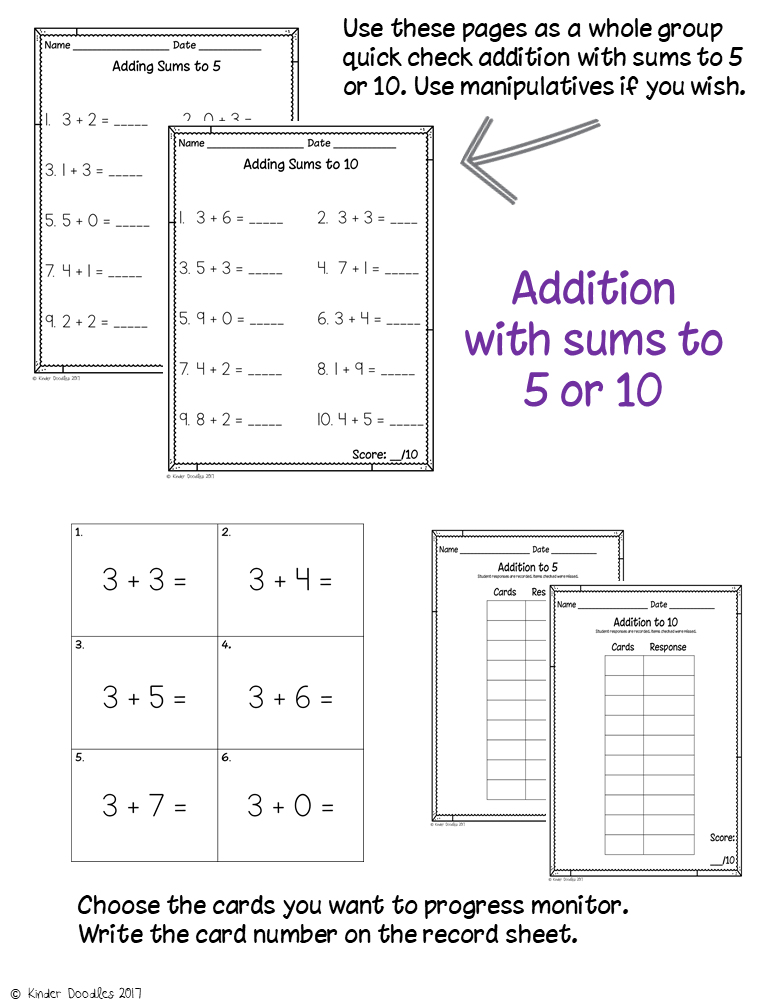
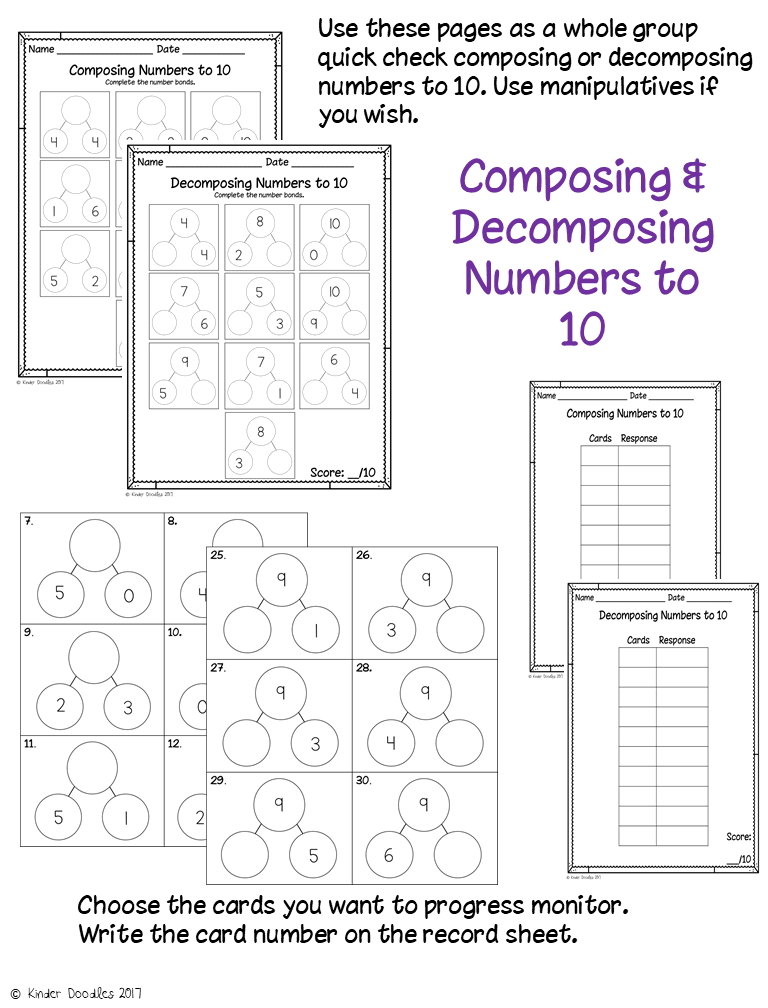
The quick checks come with a variety of progress monitoring assessments.Choose whichever best fits your needs.


Assess & monitor both literacy & math skills! See the slides below for more details on what's included.


This set is available in a bundle with my Beginning of the Year Quick Check set ~ read about it HERE.
Get your bundle HERE.


Thursday, July 6, 2017

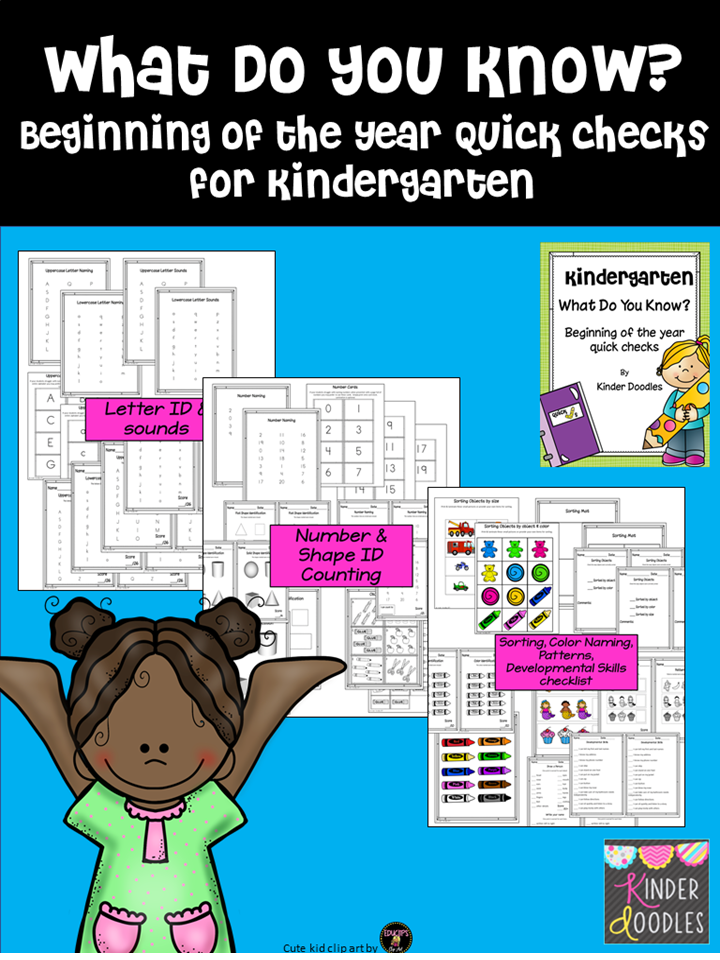
What Do You Know?

We give our incoming Kinders a screening in the spring to get a little glimpse of what they know & to make dividing them into classes a little easier. But, while it is helpful for making up the class lists, the spring screening doesn't give me an up-to-date picture of just what my little newbies know. I wanted a quick way to check on some key skills as early in the school year as possible. Because beginning of the year kindergarten is so calm and orderly crazy and hectic, I created a set of quick checks that were quick & easy to do. Really, each quick check only takes a minute or two per student & can be done while the other kiddos are working independently. (Stuff like playdoh, manipulatives, coloring ~ simple activities that will keep them engaged for a little while.) If you are lucky enough to have an aide enlist her to  help! Our teaching assistant is super fast & gets so much done while I am working with the rest of the kids. This year I will have a student teacher from day one. Guess what she is going to help me do! 
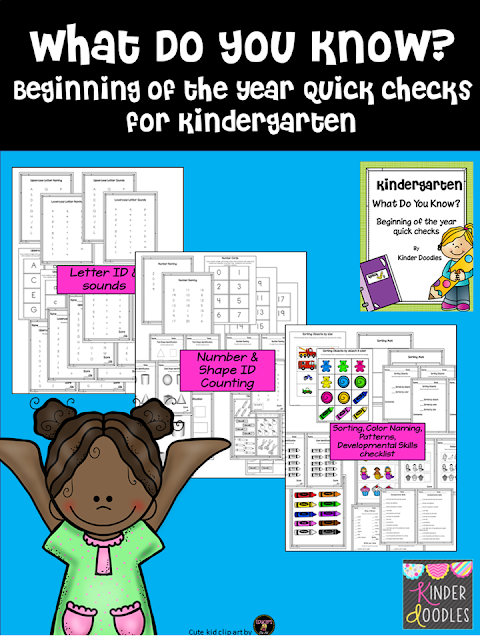

Because incoming Kinders are all over the place as far as exposure and what they can do I like to  do some simple checks after the first few days of school. We are still getting to know each other & naming colors, drawing a person, and sorting are usually pretty low-stress for the students. They generally are able to fly through these checks. The only things I laminated were the pages with color because I wanted to protect my "toner investment" ~ everything else is printed onto card stock or regular copy paper.


I like to keep a check list of the students' developmental skills. Most of the time they are right on target, but it gives good data if you need to seek RtI for anyone.


Pick whichever format works best for you ~ pages or cards. Some children are easily overwhelmed by a page full of numbers, so looking at one card at a time might help them to be successful ~ or at least a little less nervous. 


If you want to see how high they can count you can write it in the corner of the top record sheets. Once I've heard a kid count to 100 a couple of times, I declare them able to count to 100, so I like to  keep track of how high they can count. Time saver at the end of the year!


Use the page as is, cut apart for cards, or give your students little picture cards to count. 


I do check the kids on solid shapes just to see if anyone know what they are. I usually get one or two who know some of the 3D shapes. **Even though my set includes a picture page for solid shapes I usually use actual solid shapes.


Some kids know all their letters, and others, well not so much. Like counting to 100, once a student has correctly named all the uppercase & lowercase letters I declare that they know all of them. As the year goes on & the skills get harder it saves time when testing my kiddos if I don't have to listen to everyone name letters.


If you find that your students get overwhelmed by a sheet full of letters, you can use these letter cards. The cards are also great for a quick review ~ keep them handy & pull them out to review with all of your students, a small group, or one little cutie.


Technically you could use the same pages from above, but I like to have a separate set for each skill. When I'm ready to do a quick check it's handy to be able to grab everything I need. 


Each quick check is clipped together as a set, making your life easier! Be sure to attach a master copy of each record sheet. That way if you need to progress monitor students you can quickly make some more sheets as needed. 


I happened to have this Rubbermaid storage container. (I tried to find a link to purchase it, but couldn't. Maybe it's no longer available. This container from Sterilite might be a good alternative.) Anyway, I have this container that fits all of the quick check materials AND, my clipboard. It's sooo difficult (at least for me) to keep everything organized at the beginning of the year ~ and maybe later in the year... Knowing that everything I need for BOY quick checks is all in one place makes me happy. 


When I'm ready to check my kids on their skills, I grab the materials from my bin and get started. This data sheet is included with my set. The name fields are editable, but I couldn't figure out how to rotate the editable fields for the top part. Maybe it's not possible (does anyone know if you can rotate editable fields with Adobe?) 


Get this editable student record sheet when you subscribe to my newsletter! Click HERE to get it now.


Tuesday, June 6, 2017

Store Your Stuff!

Recently I posted about how I prep the TpT activities I create & buy, so I thought it would be good to share how I store my Literacy Stations materials.

I'll start with the before:

These file boxes aren't the worst way to store monthly materials, but they aren't the best way, either. On the plus side ~ they don't take up a lot of room in my work room. (We are super lucky to have tons of storage. Click HERE to see an old post that shows my half of the work room.) Really, hanging files are a pretty good way to store things. But... (see next picture)


Getting the files out to use with my guided reading groups was a pretty messy ordeal. I use materials I've made plus resources purchased from others on TpT. That's a lot of stuff to have to deal with when planning for my groups. (Click HERE to read more on how I plan for small group instruction.) So, I needed to come up with a better way to store things so that they are a little more user friendly.


Side note ~ zipper bags & a Sharpie are a MUST HAVE! I like to label the bags with the month they go with as well as the name of the activity. This is helpful when putting things away ~ I don't necessarily use everything in its "assigned" month. Differentiation, you know. ;-)


Anyway, back to my storage drama. Like I said ~ the hanging file folders were not a bad way to store the materials, but not so great when it came to using them. I bought these nifty containers that have locking lids at Target that are just the right size for holding a month's worth of activities. They are plenty big enough to hold any papers that go along with the cards. The containers are easy to use when planning my groups & sit neatly on the counter behind my table, unlike the file folders that spilled their contents all over the counter behind my table.


They stack neatly together & really don't take up much more space on my work room counter than the two hanging file boxes. 


What about you? How do you store your small group materials? Drop a comment to share your ideas and/or links ~ I'd love to get a peek at how you organize your stuff! Thanks for reading!

Monday, June 5, 2017

Prep Time!

Do you dread prepping all the cute things you get from TpT? It can be a bit time consuming ~ especially if you print in color because you will want to laminate the items to protect your precious ink or toner. I have a Brother color laser printer that creates beautiful vibrant pictures. Toner can be is pretty pricey, so I always laminate. With my own laminator. To save a little bit of money I print onto cheapo copy paper instead of card stock. The savings isn't huge, but every penny adds up!


No, I'm not an affiliate of Scotch, but I do love their products. My trusty little laminating machine was a $23.00 bargain at Walmart a few years ago. I got my laminating pouches on Amazon. I've also gotten pouches at Sams Club, and Aldi. (I put them on my teacher wish list each fall. So far, no one has offered to purchase any, but I figure it never hurts to ask...) I have found that using 3 mil thick pouches are perfect for making sturdy materials when using regular copy paper. Really! I rarely use card stock any more ~ unless I'm printing in blackline on color card stock. 


To cut or not to cut? Back in the day (before I had my very own laminator) I used to cut out everything before running it through the school's laminator. I also printed onto pricey card stock and hoped for the best ~ Will the film stick? Will the cards hold up in the hands of five & six year olds? The answer was usually NO! Well, now that I have my very own laminator I DO NOT cut before laminating. Time saver!!  Check out the next three pictures...

If I'm not in a frugal mood I'll zip an untrimmed page through my trusty laminating machine. It does waste a bit of film, but ~ hey it is super quick!


I almost always have an "I'll deal with it later" pile of laminating or cutting sitting around (this is from my Hibernation Literacy & Math set). I do *minimal* cutting and fit one of my "I'll deal with it later" projects. No film wasted! I'll cut out my clip cards now & set the Hibernation cards aside until next January.


Because copy paper is thin & kinda see through I can cut more than one sheet at a time. Just be sure that the pictures are lined up.


I usually don't cut out anything before laminating. It really is true ~ print on regular copy paper & laminate using 3 mil pouches with your machine set to 5 mil & your materials will withstand the trials your little students put them through! Really!


Even though I use 3 mil laminating pouches I set my laminator to 5 mil. It's a little hotter & keeps my materials intact.


OK ~ you're probably thinking, "Yeah, yeah, this all sounds wonderful, but it's going to take FOREVER to cut everything out! My solution: get a second pair of scissors & recruit a cutting buddy. My hubby is a pro at cutting stuff for me. Cutting is mindless work and can be done in front of the TV, while chatting, etc. 


For anything ~ like the clip cards ~ that I want to make self checking I mark on the back of the laminated cards with a light color Sharpie. Yellow and pink won't show through the paper, but show up well enough for the kids to be able to see if they are correct.


I store everything in zipper bags ~ which I label with the name of the contents. When I'm ready for the kiddos to use the activity I pop them into one of my gazillion baskets or containers. I especially like the bright baskets from Really Good Stuff.


As for the "I'll deal with it later pile," I will deal with it later... Those hibernating animals & penguins can wait until Christmas break!


Do you want the Beginning Sounds Clip Cards for FREE? Just click HERE to subscribe! Thanks!

Thursday, March 2, 2017

Guided Reading Groups

My guided reading groups have gone through a series of changes to get to where they are today. I have to say that I am pretty happy with how they have evolved. A great part of my happiness has to do with the fact that the amazing DeeDee Wills & Deanna Jump have created a fantastic guided reading product. Their Guided Reading Small Group bundle is what I use to teach my differentiated groups. (Check it out HERE.) I also use the activities from my Monthly Literacy Stations bundle. (Check it out HERE.) I have four guided reading groups of 3 - 4 students each, meeting with each group twice weekly. I do wish I could meet with them more than twice weekly, but our schedule is so crazy that's all we can fit in. 

Planning for my groups is so easy with the Guided Reading Small Groups sets ~ I keep all the materials needed for each level in a binder & just pull out the things I need for each group. As I said earlier, I include activities from my Literacy Stations bundle that fit with the lessons &each group's needs. For this group I've included a fun Crack the Code activity & CVCe activity from my Basket of Long Vowels set (see it HERE). We used it today & the kids loved it! They had fun figuring out the mystery word by naming the first letter of each picture name. 


To keep myself on track I have created this simple planning sheet. I complete one sheet for each group - the top half is the first time we meet & the bottom half is for the second time we meet each week. To keep track of student progress I use a simple check mark system as we do each activity. There is a section for quick comments. Kiddos who need more extensive comments are noted in their individual folders. Grab an updated, editable copy of this form HERE.


I am lucky to have a small class of 15 Kinders, so my guided reading groups only have 3 - 4 kids each. Using running records & classroom data I was able to place them into four leveled groups. Each group has its own basket. In the baskets I place all the materials I will need to teach each group. (It is evident from this picture that I like wooden clothespins ~ I use them every day!) Some of the cards are from Deedee Wills' Small Group Sets (check it out HERE).


To keep everything handy I have a three drawer unit to my right that holds things like white boards, tap lights (for tapping out syllables & phonemes), word & letter cards, whisper phones, etc. The group baskets are sitting on a stack of magnetic letter cookie sheets. The pails in the green basket hold things like extra clothespins, my "office" supplies, and witch fingers for pointing to words. The yellow basket holds student supplies.


Here is one of the cookie sheets in use.They are from Dollar Tree & are the perfect size to use at our table. I used Sharpie to write the letters on them to make putting the letters back after use easier. The cards are from my January Literacy Stations. We use the cookie sheets at the start of every guided reading group. Depending upon the group's needs we may work on letter naming or sounds, spelling CVC words, or sight words. (I keep extra letters in one of the drawers shown above if we need more than one of a certain letter in a word.)


While I'm meeting with my groups the other students work in pairs at our literacy stations. Click HERE to read about some of the activities the kids do at our stations. 


Related Posts Plugin for WordPress, Blogger...