Showing posts with label Back to School. Show all posts

Tuesday, July 3, 2018

Independent Centers ~ Getting Started

One of my favorite times during the school day is guided reading with small groups. It is a time when you can really focus on just what your students need. Plus, working with just a few students at a time allows you to get to know them a little better.

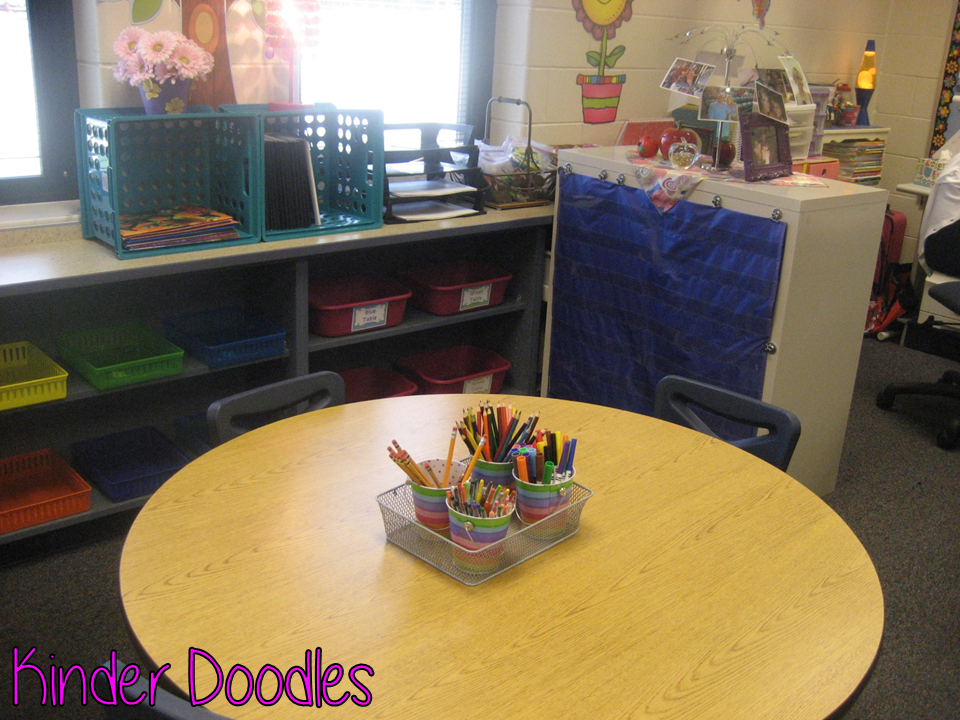
My small group table ~ it's not always this tidy looking!
But... (Yes, there is always a big but.) What about the other kids? I'm lucky to teach in a district with small low class sizes. (I typically have 18.) So, when I'm having fun working with the four kids at my table, what about the other 14 kids? That's where lots and lots of practice comes in.

I like to introduce working in station the first week of school (NOT the first day ~ geez, I'm just trying to survive & get them on the correct bus home.) Depending upon my group, we start building stamina on the second or third day. That first week of school isn't really academically rich; your time is spent mostly practicing procedures over and over. (...and over and over...) I've found that my students LOVE to work on building independent station stamina.

In order to get them to the place where I can meet with my small groups, I need to get everyone working at their stations. This is a daunting task! There is no way to get around the fact that you need to practice, practice, practice.

First, we cruise around the room and look at the different work stations so they know where they are located. Some stations are at tables, some on a shelf, some are in bins that can be taken to various spots around the room. The following photos are from past years ~ once the kids knew how to work independently.


Once we've taken a quick tour of our room, I ask the kids if they would like to try out the stations. Of course, this question is met with an enthusiastic yes! Before releasing them to stations, we discuss our classroom rules (I use the rules from Whole Brain Teaching.) We talk about how we also have rules for working in our stations: 1. Walk to your station. 2. Get started working right away. 3. Work quietly for the entire time. (We talk about how they are allowed to talk with their partner, but need to use quiet voices.) 4. Stay at your station. (If it is something in a bin, they can put it back to get another one when they are finished, but they can't roam around the room.) 5. When the timer goes off, quickly & carefully clean up your materials, and meet on the carpet. (I use a chime ringtone on my phone's timer.)

I assign my students the stations they go to each day. The stations have lots of choices within them. (When we are working on stamina, there are far fewer choices.) Typically, two students work at a station at a time. I've tried different numbers at a station, and have found that the kids are more likely to actually work when they have a partner rather than a group. Get my Literacy Station Rotation Cards Freebie  HERE.

Ok, so by now we have had a quick tour of the work spaces, and gone over the rules. Yay! We are ready to go. The kids go to their assigned stations & start to work on building stamina. Because the work of building stamina is pretty hard, the tasks need to be pretty easy. Your little beginners need activities that require little to no instruction, don't take a long time to set up, do, and clean up. It's important to remember that at this point, the task isn't as important as the practice working independently is.

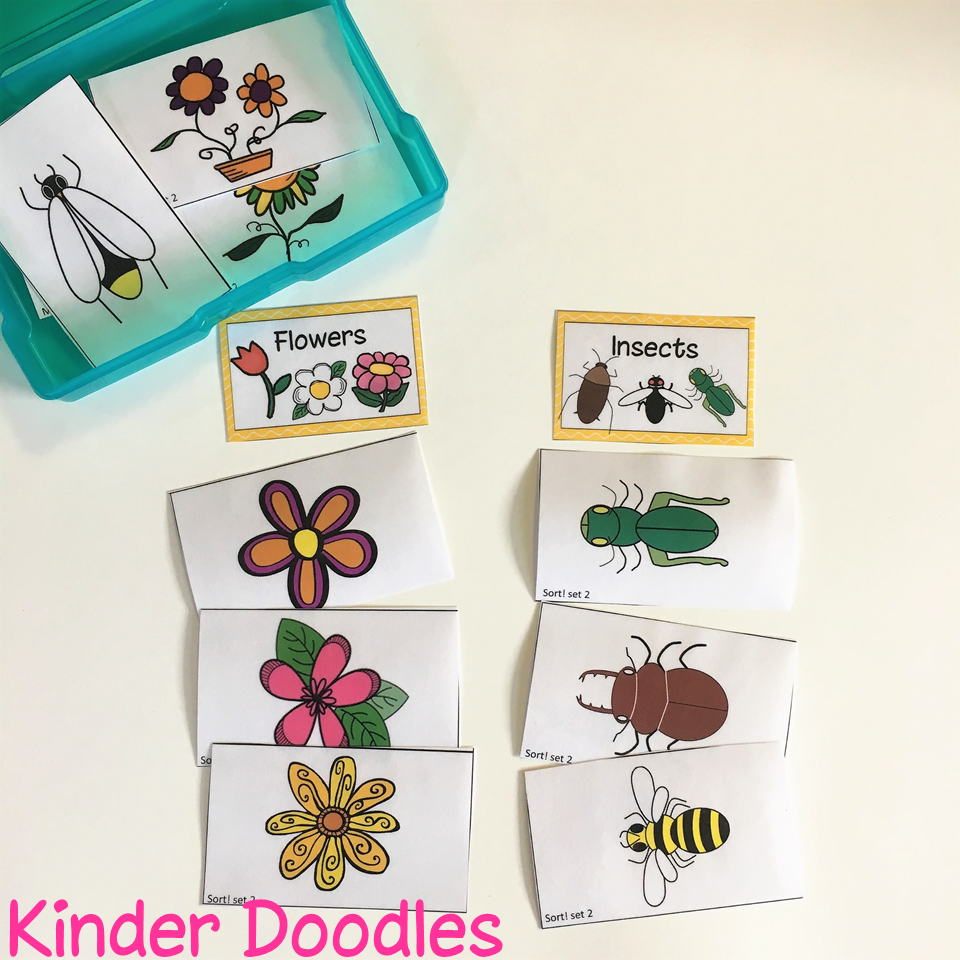
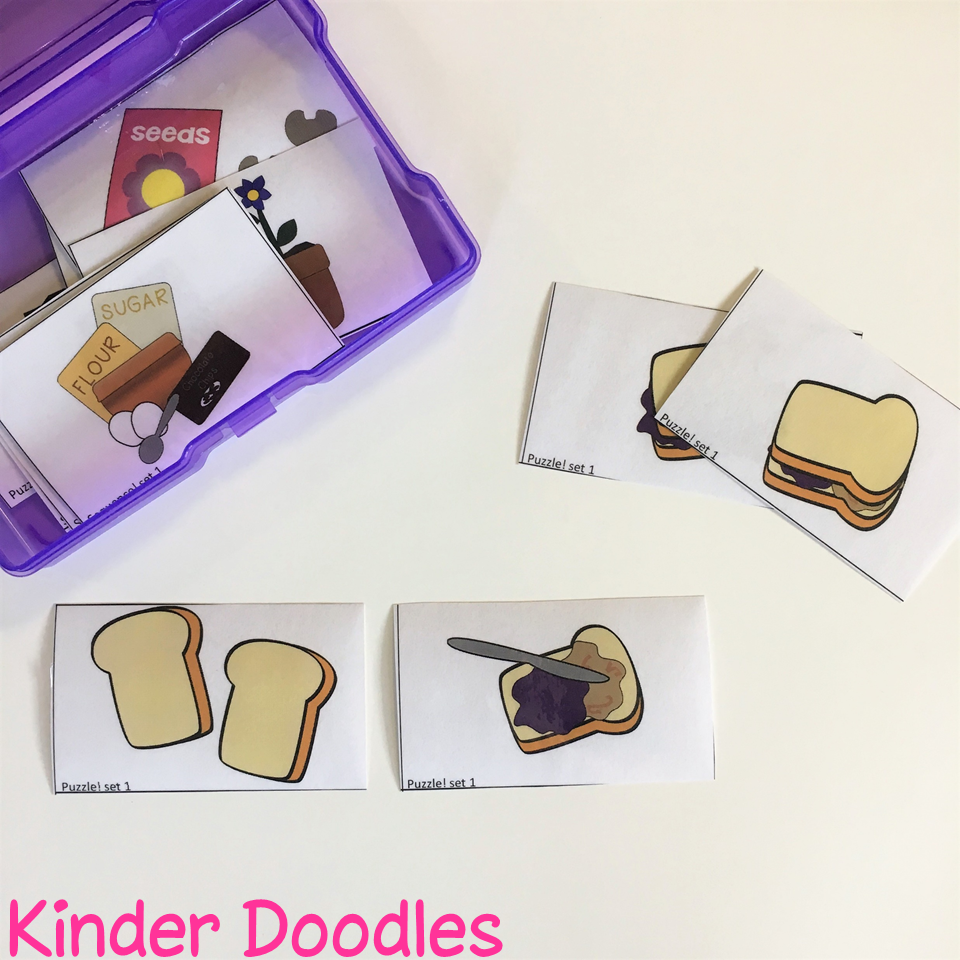
A few cans of playdough, puzzles, picture books, coloring books, and small building blocks are good choices for your practice sessions. Simple to use card activities also work well for your little learners. I have a set that contains four sets of five different activities that are perfect for early learning stations. Check them out HERE.  The cards can also be used in morning tubs or for early finishers.


Your first "rounds" of station work will probably only last a few minutes. If you have a lot of off task behavior, gather the kiddos together and discuss the rules again. You may want to make an anchor chart to serve as a visual reminder of your expectations. Set your timer again & let them try it again.

As the kids get adept at staying at their stations, working the entire time, and staying on task, you will want to replace the more "toy-like" materials with things that are a little more academic. (You will still want to keep it simple, though.)

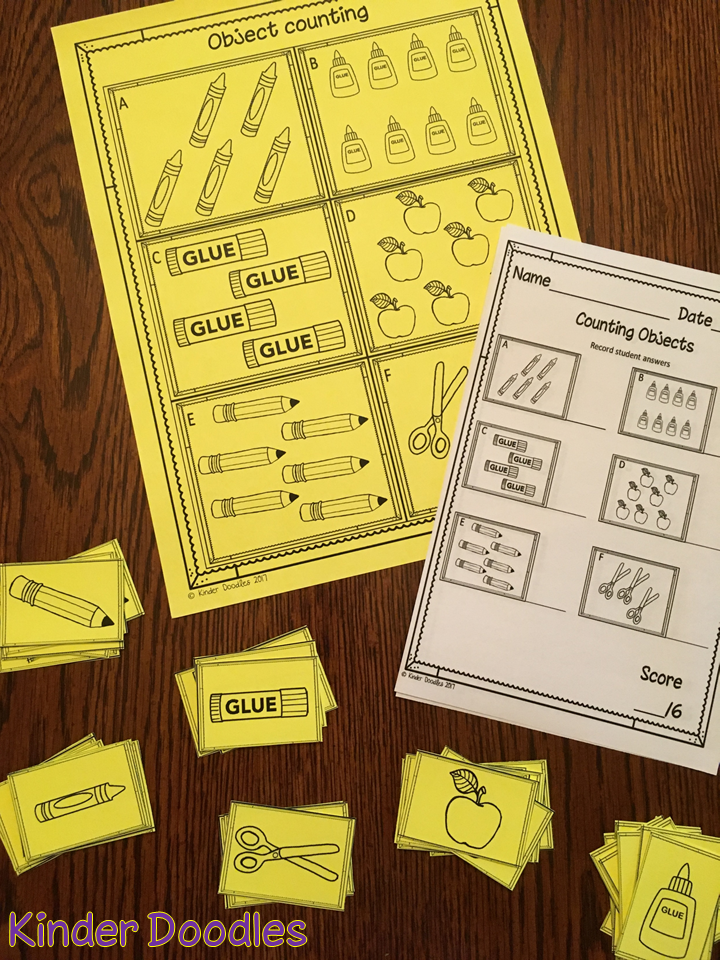
After the first week of practice, if the kids are able to stay on task for five or more minutes, I like to pull individual kids to my table to do some quick checks to see what they know so I can eventually form my small groups.

It takes lots of diligent practice, modelling, and reminders to get your kids ready for independent work. But, it pays off big time! Every class is different, so don't try to set a specific time frame for when you begin your guided reading groups. I've had groups ready to work independently while I pull small groups after about three weeks of practice, some take more time. Don't rush it! Taking time to practice, practice, practice will create a class that knows how to work independently. Good luck & have fun!

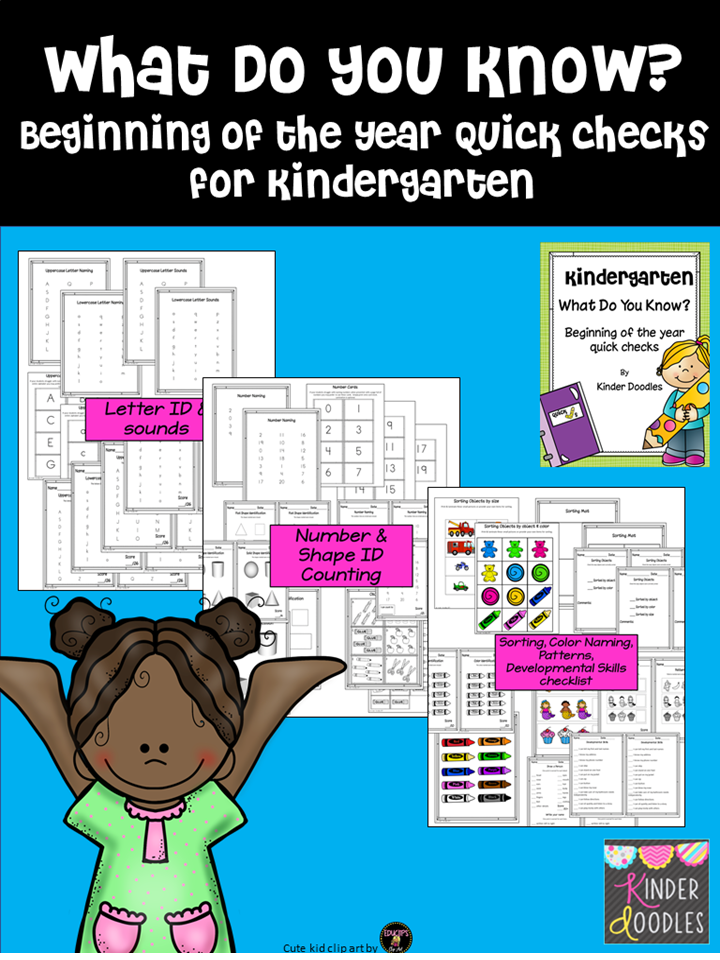
PS: If you want to quickly gather info on what your newbies know, you may be interested in my "What Do You Know Quick Check Bundle." Check it out HERE


Thursday, July 6, 2017

What Do You Know?

We give our incoming Kinders a screening in the spring to get a little glimpse of what they know & to make dividing them into classes a little easier. But, while it is helpful for making up the class lists, the spring screening doesn't give me an up-to-date picture of just what my little newbies know. I wanted a quick way to check on some key skills as early in the school year as possible. Because beginning of the year kindergarten is so calm and orderly crazy and hectic, I created a set of quick checks that were quick & easy to do. Really, each quick check only takes a minute or two per student & can be done while the other kiddos are working independently. (Stuff like playdoh, manipulatives, coloring ~ simple activities that will keep them engaged for a little while.) If you are lucky enough to have an aide enlist her to  help! Our teaching assistant is super fast & gets so much done while I am working with the rest of the kids. This year I will have a student teacher from day one. Guess what she is going to help me do! 


Because incoming Kinders are all over the place as far as exposure and what they can do I like to  do some simple checks after the first few days of school. We are still getting to know each other & naming colors, drawing a person, and sorting are usually pretty low-stress for the students. They generally are able to fly through these checks. The only things I laminated were the pages with color because I wanted to protect my "toner investment" ~ everything else is printed onto card stock or regular copy paper.


I like to keep a check list of the students' developmental skills. Most of the time they are right on target, but it gives good data if you need to seek RtI for anyone.


Pick whichever format works best for you ~ pages or cards. Some children are easily overwhelmed by a page full of numbers, so looking at one card at a time might help them to be successful ~ or at least a little less nervous. 


If you want to see how high they can count you can write it in the corner of the top record sheets. Once I've heard a kid count to 100 a couple of times, I declare them able to count to 100, so I like to  keep track of how high they can count. Time saver at the end of the year!


Use the page as is, cut apart for cards, or give your students little picture cards to count. 


I do check the kids on solid shapes just to see if anyone know what they are. I usually get one or two who know some of the 3D shapes. **Even though my set includes a picture page for solid shapes I usually use actual solid shapes.


Some kids know all their letters, and others, well not so much. Like counting to 100, once a student has correctly named all the uppercase & lowercase letters I declare that they know all of them. As the year goes on & the skills get harder it saves time when testing my kiddos if I don't have to listen to everyone name letters.


If you find that your students get overwhelmed by a sheet full of letters, you can use these letter cards. The cards are also great for a quick review ~ keep them handy & pull them out to review with all of your students, a small group, or one little cutie.


Technically you could use the same pages from above, but I like to have a separate set for each skill. When I'm ready to do a quick check it's handy to be able to grab everything I need. 


Each quick check is clipped together as a set, making your life easier! Be sure to attach a master copy of each record sheet. That way if you need to progress monitor students you can quickly make some more sheets as needed. 


I happened to have this Rubbermaid storage container. (I tried to find a link to purchase it, but couldn't. Maybe it's no longer available. This container from Sterilite might be a good alternative.) Anyway, I have this container that fits all of the quick check materials AND, my clipboard. It's sooo difficult (at least for me) to keep everything organized at the beginning of the year ~ and maybe later in the year... Knowing that everything I need for BOY quick checks is all in one place makes me happy. 


When I'm ready to check my kids on their skills, I grab the materials from my bin and get started. This data sheet is included with my set. The name fields are editable, but I couldn't figure out how to rotate the editable fields for the top part. Maybe it's not possible (does anyone know if you can rotate editable fields with Adobe?) 


Get this editable student record sheet when you subscribe to my newsletter! Click HERE to get it now.


Saturday, July 30, 2016

Back to School Giveaway!


It's almost time! Get ready for the new school year with a $10 Teachers pay Teachers gift card! I'll select a winner on Sunday at midnight & announced Monday morning. Good luck!


a Rafflecopter giveaway

Sunday, August 23, 2015

Classroom Reveal 2015

School started last Wednesday, so I'm a little bit late with my classroom reveal. But, I was So. Tired. last week. (You know ~ there is no tired like the first day of school tired!)

I made a few changes in my room, and am pretty happy with the results.


Meet the Teacher Night was last Monday. I had a great turnout ~ everyone showed up!


Pictures of my little cuties will hang from the little birds on our hallway bulletin board.


I have all round tables this year! Fifth grade took our clunky trapezoid tables. The rounds make my room seem bigger. (I did hang on to two trapezoids for centers.)


My Writing Station with bins lined up at the ready to collect supplies on Meet the Teacher Night.


Our desktop computers are gone ~ we are getting laptops. I kept the computer tables to create a bigger Word Work Station. The bottom picture looks across to my half circle table.

  
Looking across one of the trapezoids in the Math Station to our Focus Wall. We put card stock on our supply list. That table was COVERED with it Monday night! 


New additions: Check In Board & flower lanterns.


Also new is my fun Leader banner. It's hung from ribbon with tiny clothespins I found at Michaels. The leader changes daily ~ this person gets to do all of the classroom jobs for the day.


Trapezoid #2 is one of our Listening Stations. I am so excited to add two new iPod Touches to our Listening Library thanks to Donors Choose!


I stood in our Library to take this picture.


Looking at the Library from my half circle table. I love the roominess of the seating area with the round tables! There is even plenty of space on the floor in front of the white board for Go Noodle!


I need to remind myself how nice & neat my desk once was as the year goes by!


I made the read banner for the library with some of the same paper from the hallway banner (Leader banner, too).


So far no problems with the blue chair!


I love how bright & cheery my classroom turned out this year!


My little white table got a facelift from a can of teal spraypaint. 


I set out to find a table for $5.00 this summer & I did! I had originally thought that it would be a coffee table, but I lucked out when I stopped by a retired teacher's garage sale. I couldn't believe it when I spotted the tag on this table ~ $5.00! The pink pillow cost more than that at Dollar General!


There is plenty of space at the Magnet Center now that we have round desks. Clipboards under the little desk in the right pictures let the kids work in various places around the room. A friend gave me the alphabet rug for my Cubby Area. I had an old (I mean old) rug there before. It was in pretty bad shape, so I was very happy to get this new one for the space. The kids play with blocks in here, so a rug is a necessity. The colorful bins are their Book Bins for Read to Self. We will begin using them this week!  

Thanks for visiting. I hope you have a great school year!


Wednesday, September 10, 2014

Better Late Than Never Classroom Reveal

Today was day number 15 and I am just now getting around to posting pictures of my classroom!  I don't know why I've been such a slacker.  But, I figure late is better than never.  Drum roll...


Classroom library.  I left it in the same spot as it has been for a while.  New this year are comfy pillows and a cozy chair.  I covered the backs of the cabinets with purple cloth to round out the cozy feel.  The white tubs that hold picture books are now on a wire shelf.  


To the left of the library is our Magnet Center and a little desk.  It is a popular place for independent work.  I think the Kinders like the idea of a desk - it feels grown-up!  :-)


Here's a better look at the blue chair.  I was a little skeptical about bringing it to school; I thought it might cause some struggles and falls.  But, happily it works!


A work area behind the library.  I really had to scrounge to find this ~ there are not too many rectangle tables not being used.  (This is actually a computer table that one of our fabulous firsties didn't need it in her room anymore, so it found its way to my room!


The back of the library is made up in part by this wonderful cabinet.  Other teachers who have one of these use it for student mailboxes.  I thought I'd give it a try & am happy with the results.  My traditional mailbox system I'd always used was not the best for Kinders ~ it got crowded when we were packing up for the day.  Now, my kids can grab their mailboxes & load up at their tables. I have seventeen students so I still have plenty of bin for Work Work activities!  (Those pretty baskets on top are also Word Work containers.)


Our new and improved Word Work Station.  This is right across from the cabinet pictured above.  We are shifting to Daily 5 for our entire literacy block, so I needed more space for materials and the kids to work.  I got the white shelves at Aldi ~ they are actually for closets, but they make perfect space savers for this area.  I found the colorful little crates at Walmart for a dollar.  


This is the view to the right as you enter my room.  The table backed up to the library is another great work space.  The shelves in my library are still those unfortunate ones formerly held together with duct tape.  Last year my husband steadied them with a sturdy backboard.  But, they were still pretty ugly, so I covered them with some bright floral fabric.  The tubs in the cabinet hold math manipulatives.  The blue and yellow baskets are overflow Word Work containers.  Two computers and a listening station are on the right.  My table & the focus wall are in the background.


The table I use when working with small groups.  The inserts show a little more detail of what is on either side of this area.  I added a couple more crates & a pink lamp this year.


The focus wall.  This year I put the shelves that were under the white board last year in front of the focus wall and covered it with a plastic table cloth.  The little brown table and chairs are a popular Read to Self area.  


Here's a shot of the back of the room.  I have four student table groups.  As you might have noticed, I went a little bucket crazy at Target this summer!  I got all of those wire baskets at the Free Teacher Store last spring.  They hold four little buckets full of shared materials.  The little white boxes  (actually Q-Tip containers without lids from the Free Teacher Store) hold each student's crayons.  I decided to keep their crayons separate because the crayon-breakers tended to break all of the crayons.  This way the crayon breakers have their own set of crayon pieces & everyone else has nice crayons.


More student tables and my desk.  (Confession ~ I didn't even take pictures before the kids came.  I really was a slacker!)  The table in front of my desk used to hold personal CD players, but now it is another work area.  I put the three remaining players into tubs in the library.


Hey ~ there's another work area!  I really wanted to create a space that was really usable for my students.  Like all the other areas this one has a wire basket with buckets of tools.  It backs up to a wire shelf that holds our Math Baskets & Math Tubs.


We are going to implement Math Daily 3 this year ~ Math on My Own, Math with a Partner, and Math Writing.  The baskets hold Math on My Own activities, and the tubs are for partner work.


More math baskets & a tub on some hand-me-down furniture.  Not too pretty, but it works.  The colorful drawers are a bargain find at Aldi & will hold our Math Writing activities.


I combined our Dramatic Play & Manipulative Centers.  I wasn't sure if it would work (I was kind of afraid of a big mess...), but so far, so good!  I have since added another wire basket with buckets to this area to create yet another work area.  The tools sit on the counter until needed.


Our Writing Station.  We haven't started using everything in this area yet.  The pink tubs on the right hold the kids' Writing Workshop folders.  The kiddos love to sit around the table during our after lunch quiet time to color.


I turned the puppet show around so I could store Writing Station tools on the shelves.  Our famous blue mushroom tubs are neatly stored on the bottom shelf ~ ready & waiting to hold little things!  The shelf on the left holds our Morning Work & Notes baskets.


Last, but not least, the little white table someone gave my daughter when she was moving into her college apartment several years ago.  She didn't want it, but knew I would.  My husband shortened the legs to Kinder size.  I think I should give it a fresh coat of paint.  Next year...

Well, that's my classroom in a nutshell.  I hope you enjoyed looking around.  I'd love to hear what you think.
Related Posts Plugin for WordPress, Blogger...