Tuesday, June 6, 2017

Store Your Stuff!

Recently I posted about how I prep the TpT activities I create & buy, so I thought it would be good to share how I store my Literacy Stations materials.

I'll start with the before:

These file boxes aren't the worst way to store monthly materials, but they aren't the best way, either. On the plus side ~ they don't take up a lot of room in my work room. (We are super lucky to have tons of storage. Click HERE to see an old post that shows my half of the work room.) Really, hanging files are a pretty good way to store things. But... (see next picture)


Getting the files out to use with my guided reading groups was a pretty messy ordeal. I use materials I've made plus resources purchased from others on TpT. That's a lot of stuff to have to deal with when planning for my groups. (Click HERE to read more on how I plan for small group instruction.) So, I needed to come up with a better way to store things so that they are a little more user friendly.


Side note ~ zipper bags & a Sharpie are a MUST HAVE! I like to label the bags with the month they go with as well as the name of the activity. This is helpful when putting things away ~ I don't necessarily use everything in its "assigned" month. Differentiation, you know. ;-)


Anyway, back to my storage drama. Like I said ~ the hanging file folders were not a bad way to store the materials, but not so great when it came to using them. I bought these nifty containers that have locking lids at Target that are just the right size for holding a month's worth of activities. They are plenty big enough to hold any papers that go along with the cards. The containers are easy to use when planning my groups & sit neatly on the counter behind my table, unlike the file folders that spilled their contents all over the counter behind my table.


They stack neatly together & really don't take up much more space on my work room counter than the two hanging file boxes. 


What about you? How do you store your small group materials? Drop a comment to share your ideas and/or links ~ I'd love to get a peek at how you organize your stuff! Thanks for reading!

Monday, June 5, 2017

Prep Time!

Do you dread prepping all the cute things you get from TpT? It can be a bit time consuming ~ especially if you print in color because you will want to laminate the items to protect your precious ink or toner. I have a Brother color laser printer that creates beautiful vibrant pictures. Toner can be is pretty pricey, so I always laminate. With my own laminator. To save a little bit of money I print onto cheapo copy paper instead of card stock. The savings isn't huge, but every penny adds up!


No, I'm not an affiliate of Scotch, but I do love their products. My trusty little laminating machine was a $23.00 bargain at Walmart a few years ago. I got my laminating pouches on Amazon. I've also gotten pouches at Sams Club, and Aldi. (I put them on my teacher wish list each fall. So far, no one has offered to purchase any, but I figure it never hurts to ask...) I have found that using 3 mil thick pouches are perfect for making sturdy materials when using regular copy paper. Really! I rarely use card stock any more ~ unless I'm printing in blackline on color card stock. 


To cut or not to cut? Back in the day (before I had my very own laminator) I used to cut out everything before running it through the school's laminator. I also printed onto pricey card stock and hoped for the best ~ Will the film stick? Will the cards hold up in the hands of five & six year olds? The answer was usually NO! Well, now that I have my very own laminator I DO NOT cut before laminating. Time saver!!  Check out the next three pictures...

If I'm not in a frugal mood I'll zip an untrimmed page through my trusty laminating machine. It does waste a bit of film, but ~ hey it is super quick!


I almost always have an "I'll deal with it later" pile of laminating or cutting sitting around (this is from my Hibernation Literacy & Math set). I do *minimal* cutting and fit one of my "I'll deal with it later" projects. No film wasted! I'll cut out my clip cards now & set the Hibernation cards aside until next January.


Because copy paper is thin & kinda see through I can cut more than one sheet at a time. Just be sure that the pictures are lined up.


I usually don't cut out anything before laminating. It really is true ~ print on regular copy paper & laminate using 3 mil pouches with your machine set to 5 mil & your materials will withstand the trials your little students put them through! Really!


Even though I use 3 mil laminating pouches I set my laminator to 5 mil. It's a little hotter & keeps my materials intact.


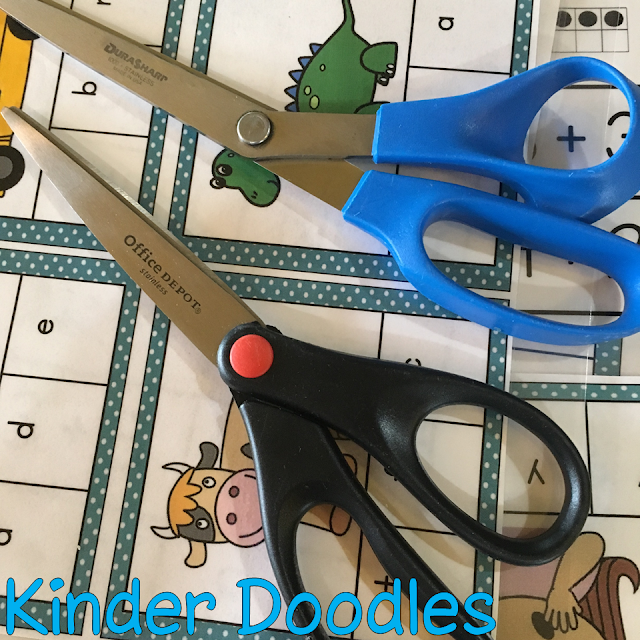
OK ~ you're probably thinking, "Yeah, yeah, this all sounds wonderful, but it's going to take FOREVER to cut everything out! My solution: get a second pair of scissors & recruit a cutting buddy. My hubby is a pro at cutting stuff for me. Cutting is mindless work and can be done in front of the TV, while chatting, etc. 


For anything ~ like the clip cards ~ that I want to make self checking I mark on the back of the laminated cards with a light color Sharpie. Yellow and pink won't show through the paper, but show up well enough for the kids to be able to see if they are correct.


I store everything in zipper bags ~ which I label with the name of the contents. When I'm ready for the kiddos to use the activity I pop them into one of my gazillion baskets or containers. I especially like the bright baskets from Really Good Stuff.


As for the "I'll deal with it later pile," I will deal with it later... Those hibernating animals & penguins can wait until Christmas break!


Do you want the Beginning Sounds Clip Cards for FREE? Just click HERE to subscribe! Thanks!
Related Posts Plugin for WordPress, Blogger...